Replacing the shutter unit in a Canon T1i
In the fall of 2019 I purchased a used Canon T1i (500D). It was 90 USD, 10 years old, and had a small crack in the glass covering the LCD. Flawed as it was, its age and price made it a perfect beater DSLR that I could (rather recklessly) wrap in a hat and shove into a bag. Roughly 3.5 years and 4168 shutter actuations later, a shutter blade got stuck while I was on a roadtrip.
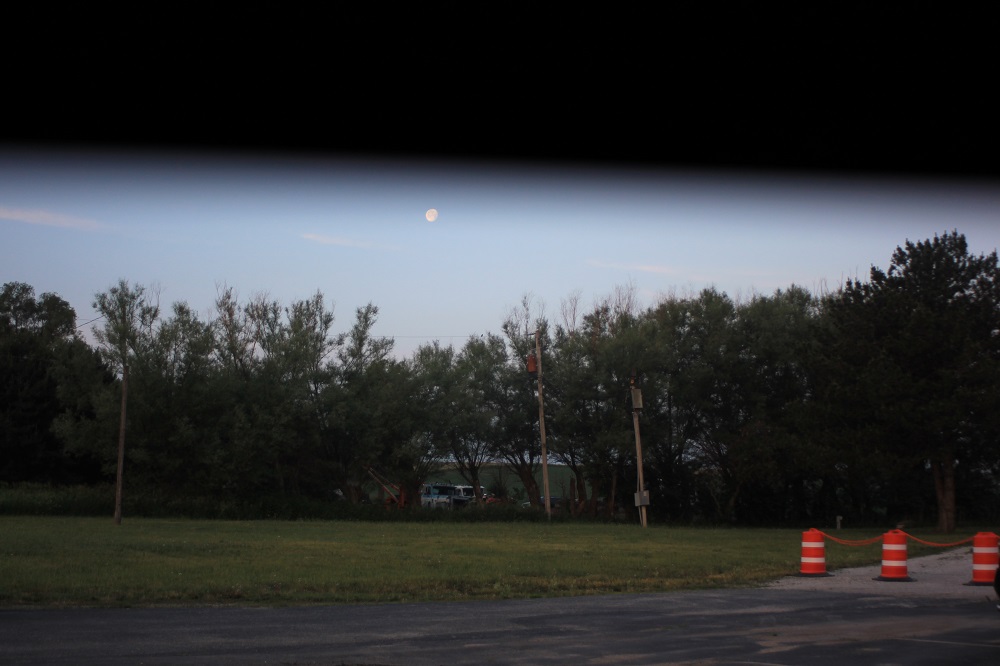
Although the camera had always been intended to be a borderline disposable device, I had nonetheless spent a great deal of time with it and become rather fond of having it available as an alternate option for the times and places where I didn’t want to carry better equipment. So I decided to fix it.
I started by trying the menagerie of shutter actuation and power cycling tricks that the internet offered, but to no avail. I tried carefully applying a Teflon based lubricant to the shutter blades and only succeeded in creating a small spatter of oil on the surface of the sensor. (I do not endorse this method.) I found a service that offered to replace the shutter unit for 120 USD plus shipping, but that seemed like a losing proposition on a camera that was now worth considerably less than 90 dollars.
I found a newly manufactured compatible shutter assembly on Ebay for 27 USD. I wasn’t very confident about being able to disassemble the camera, swap the part, and reassemble the camera without introducing any other problems, but this video was enormously helpful in the early stages of the disassembly. I would not recommend disassembling a DSLR without similar documentation. Some of the order of operations were not intuitive or obvious from observation.
In order to replace the shutter unit, I had to conduct a near-total disassembly of the camera. The following photos document the stages of the process.
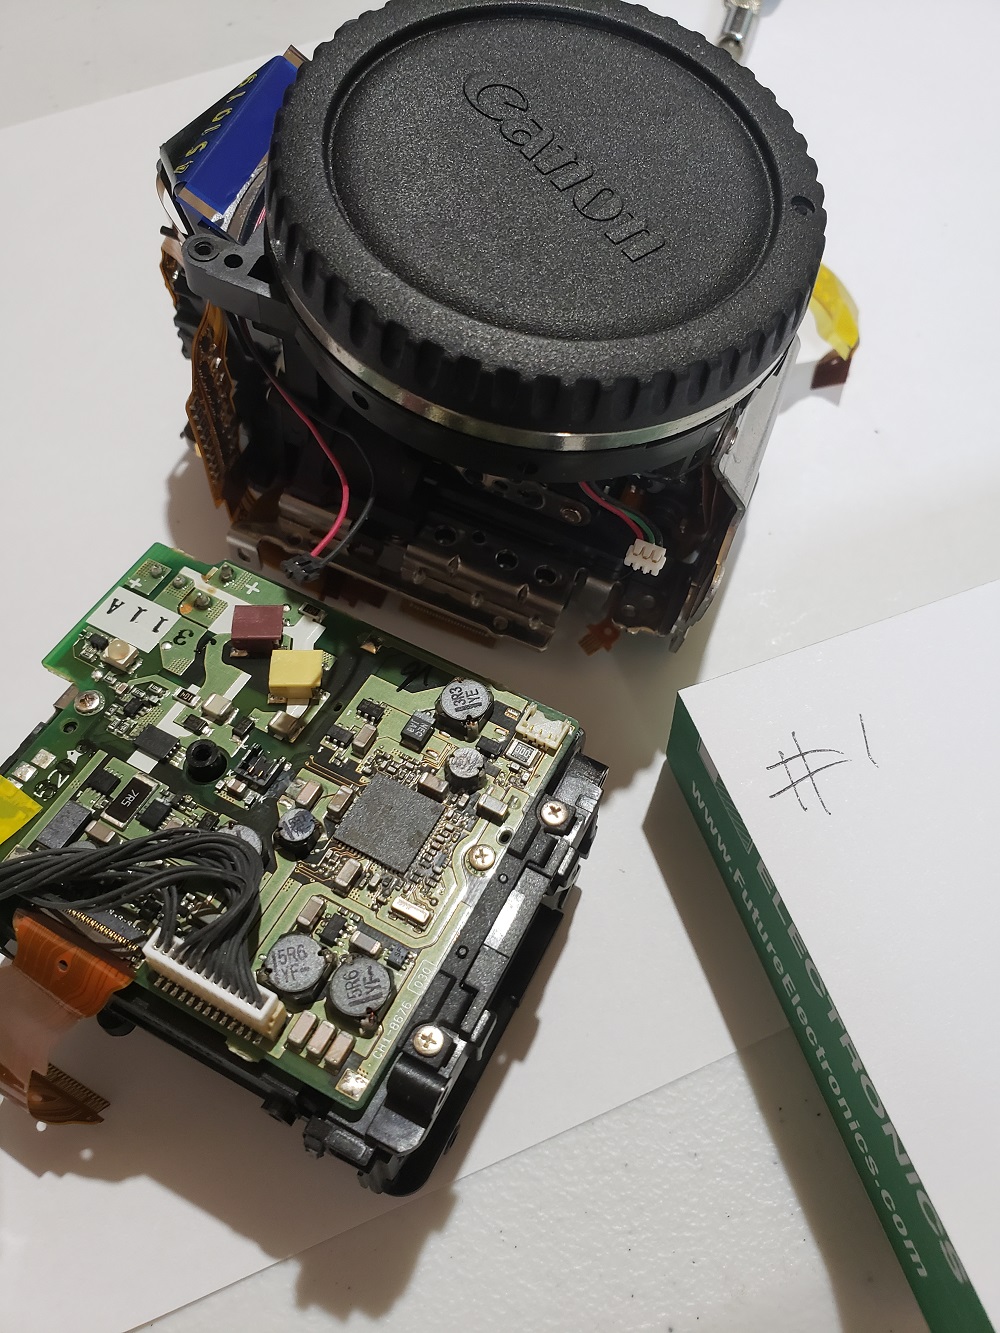
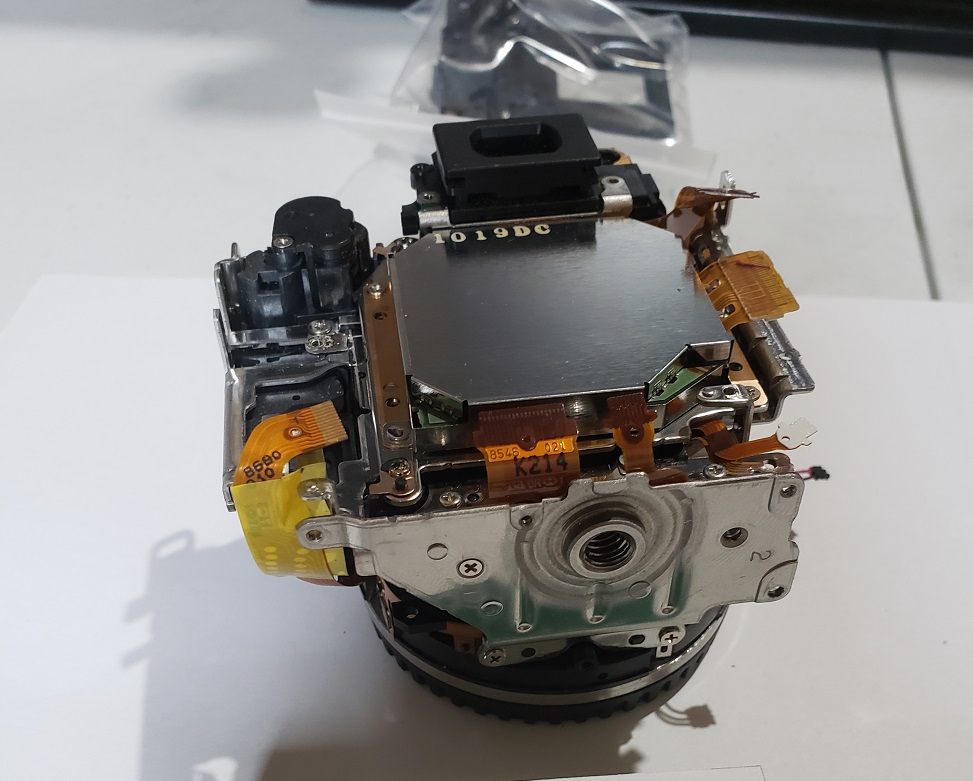
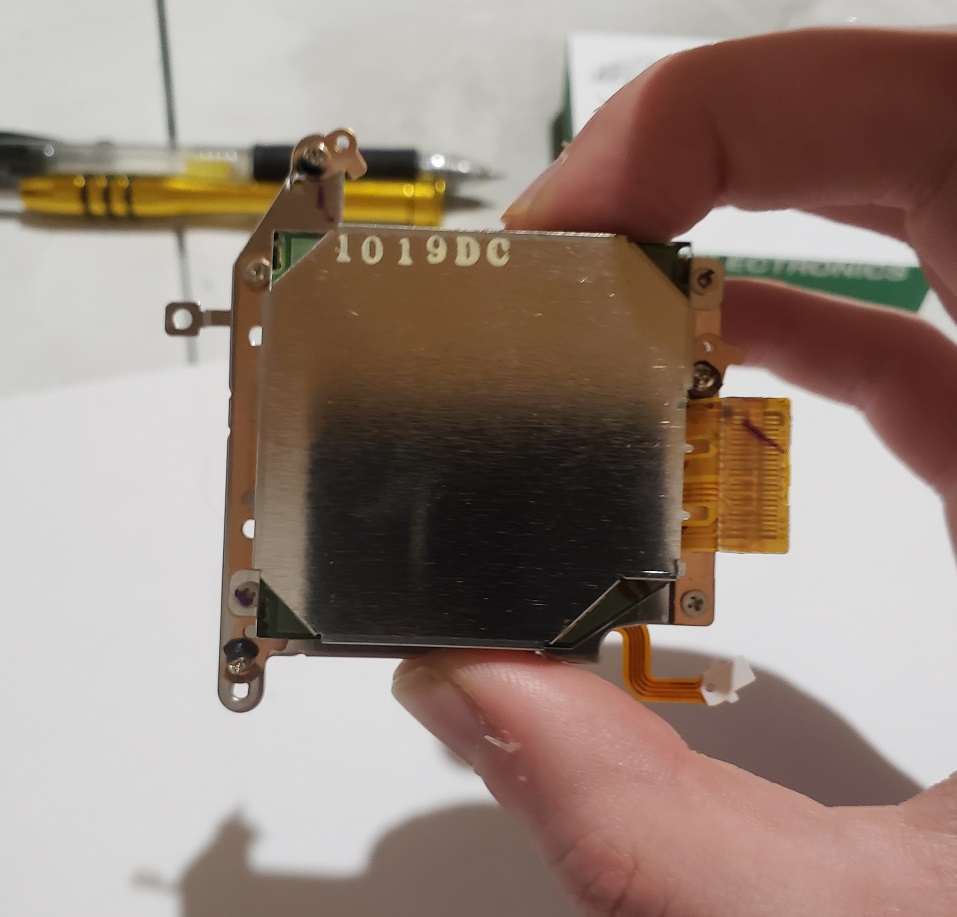
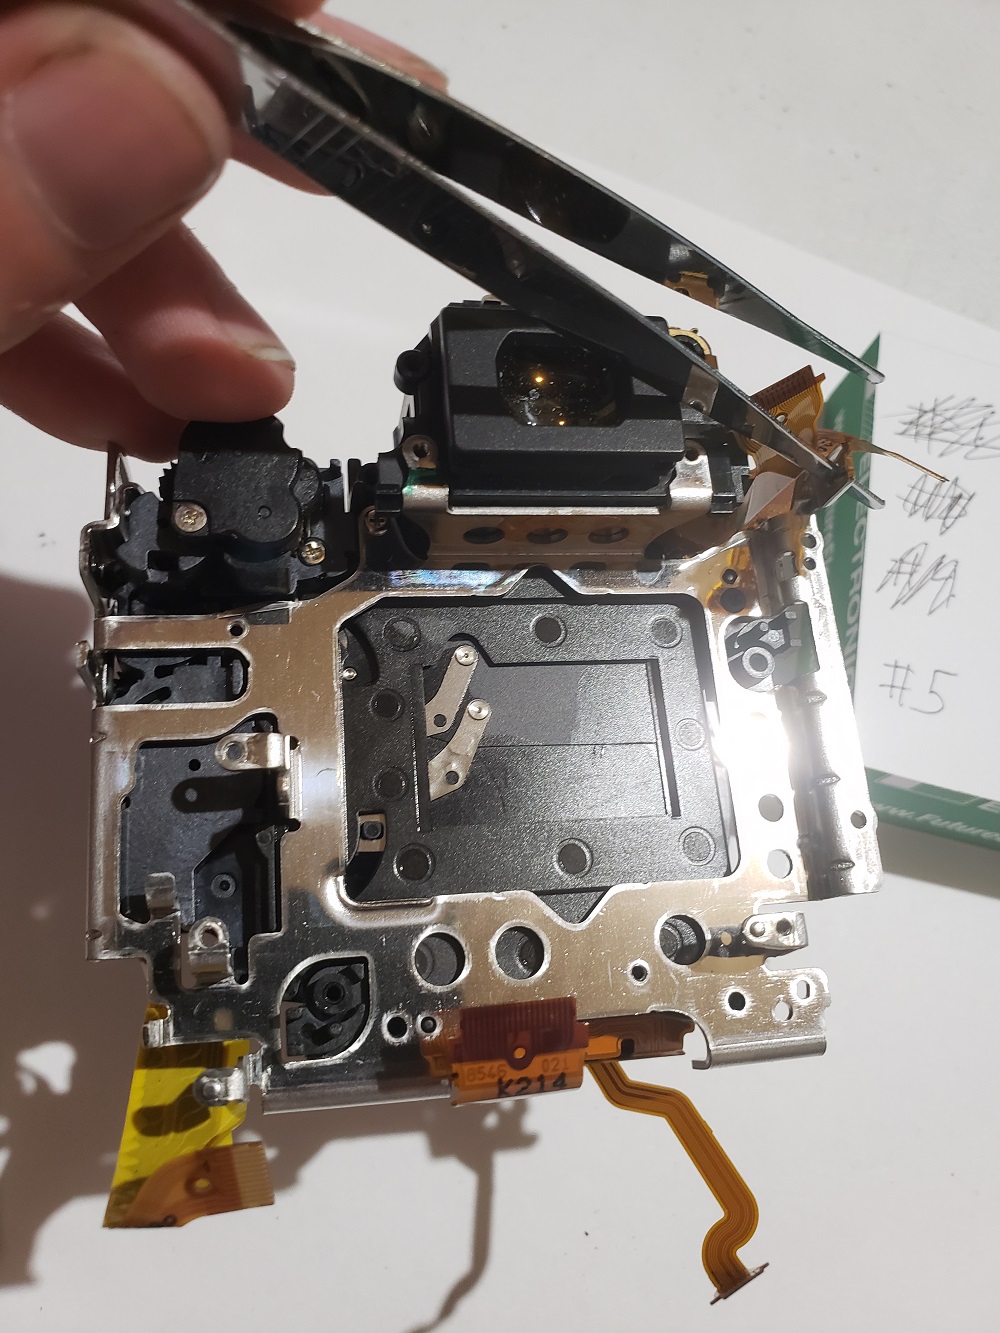
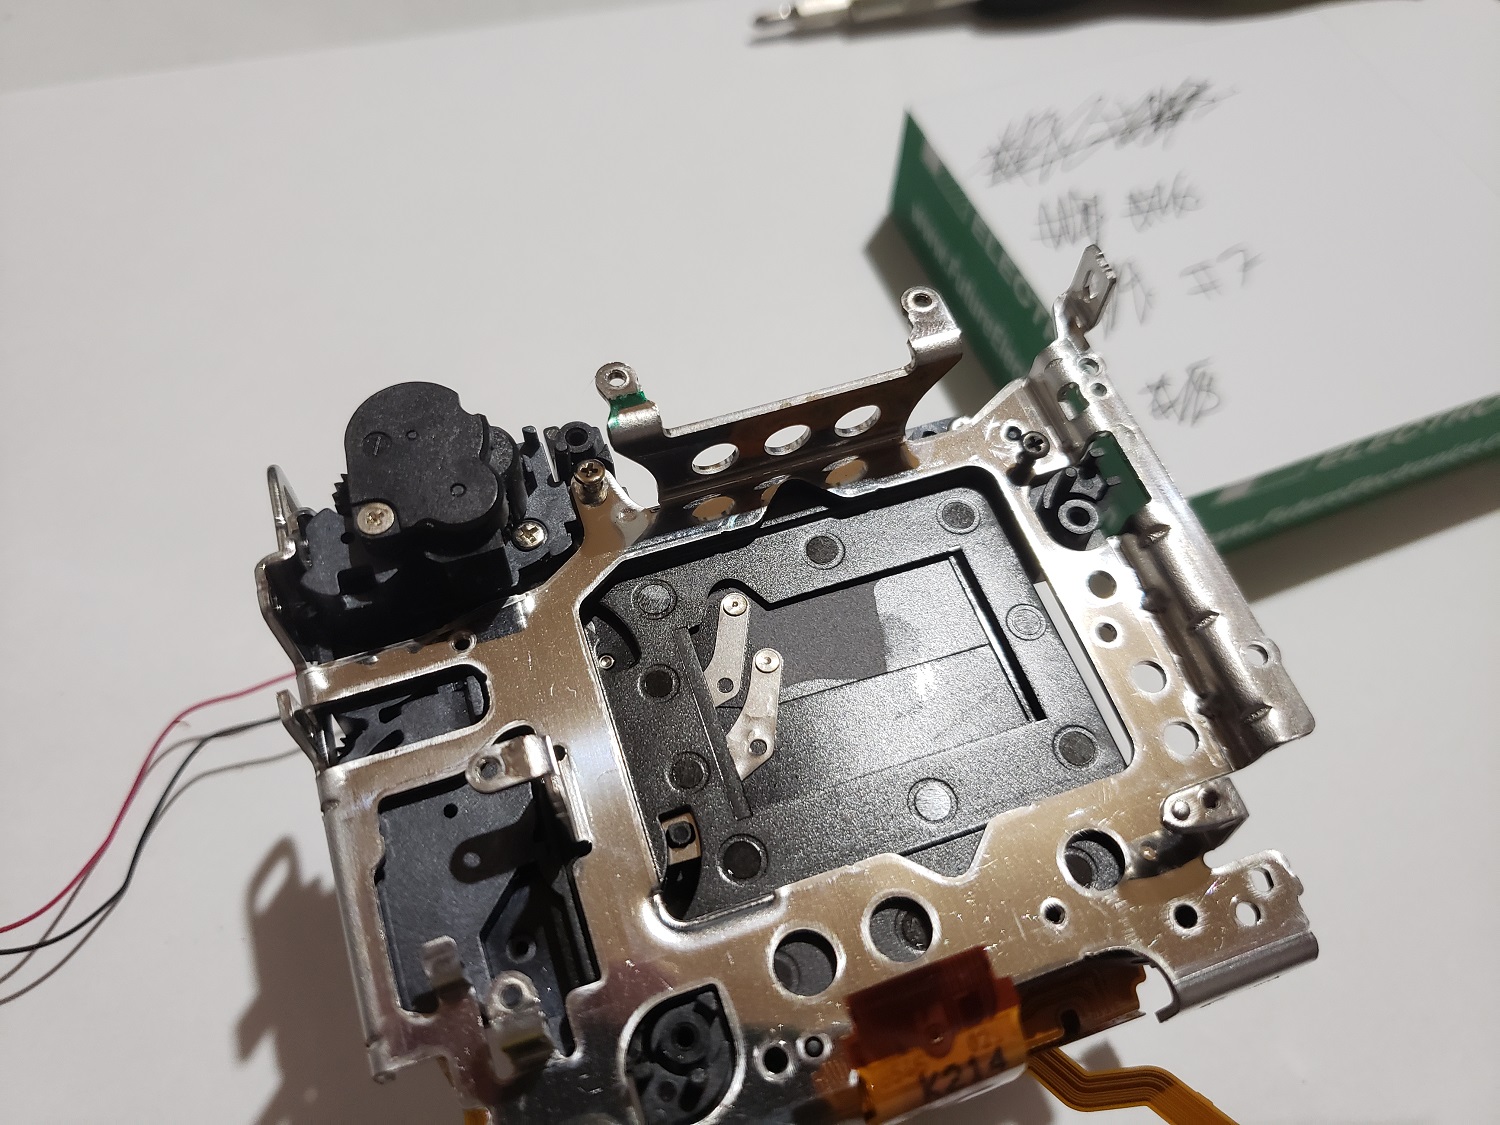
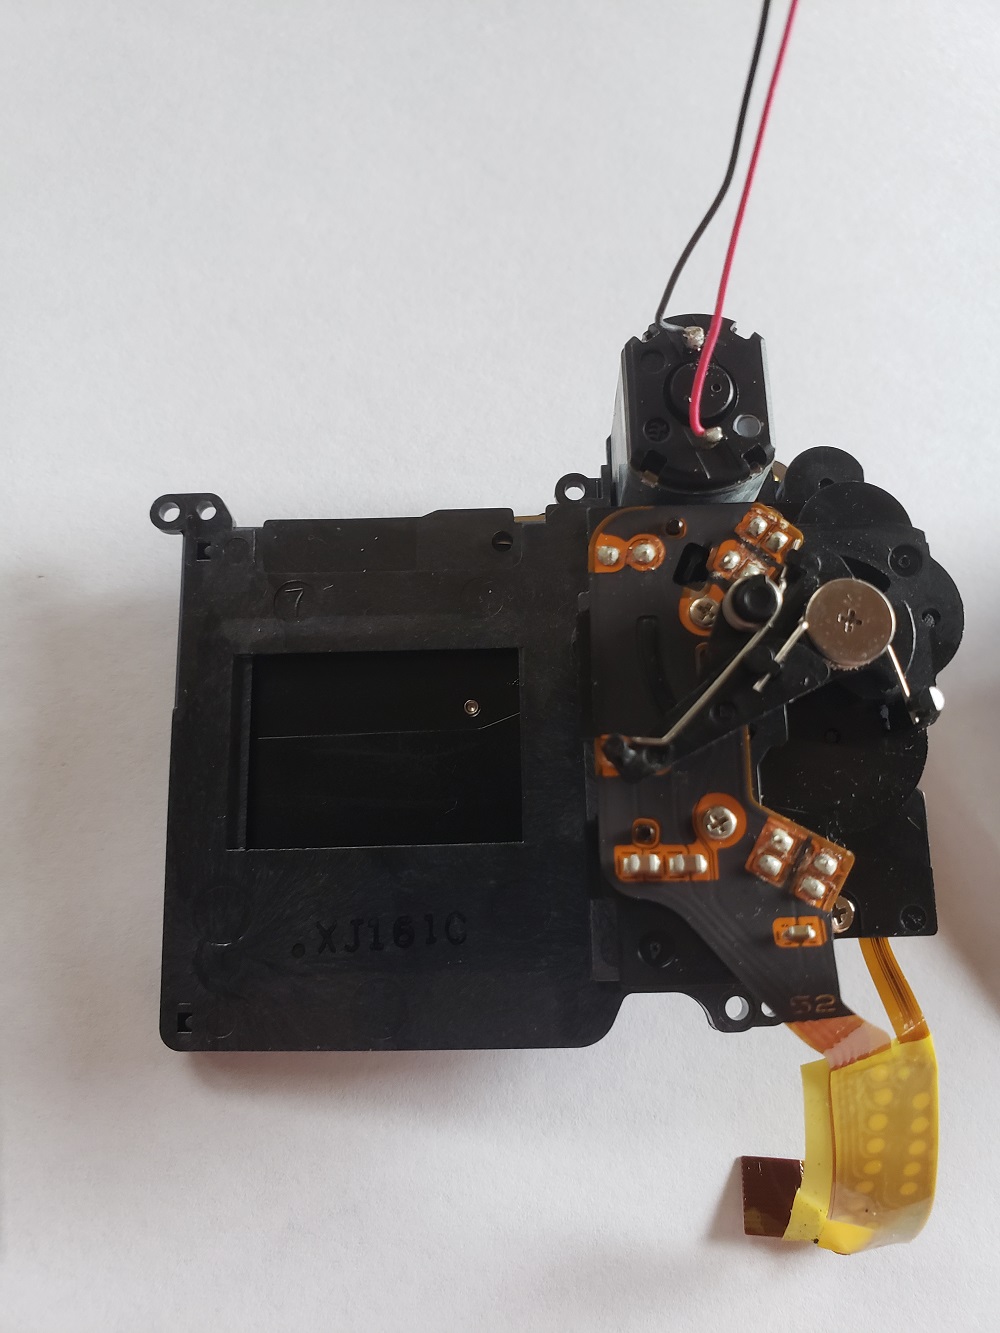
The entire process included several disassembles and assemblies to troubleshoot problems in addition to a trip to the hardware store to buy a T5 screwdriver tip. I also removed a few stray grains of rice which seem to have been bouncing around inside the body since before I bought the camera and took the opportunity to thoroughly clean the sensor After an elapsed time of thirteen hours, the camera was once again in working order. Between the wear on the body, the grains of rice, and the shutter unit assembly, I know the camera has had a rough 14 years. With the cheap availability of broken units for parts I suspect that the camera has many years of life left in it, at least until It becomes the camera of Theseus.